

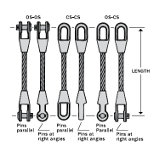
 110 Spelter Sockets
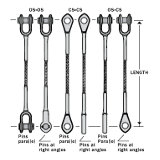 115 Swagged Sockets
 115-E-E Eye and Eye Wire Rope Sling
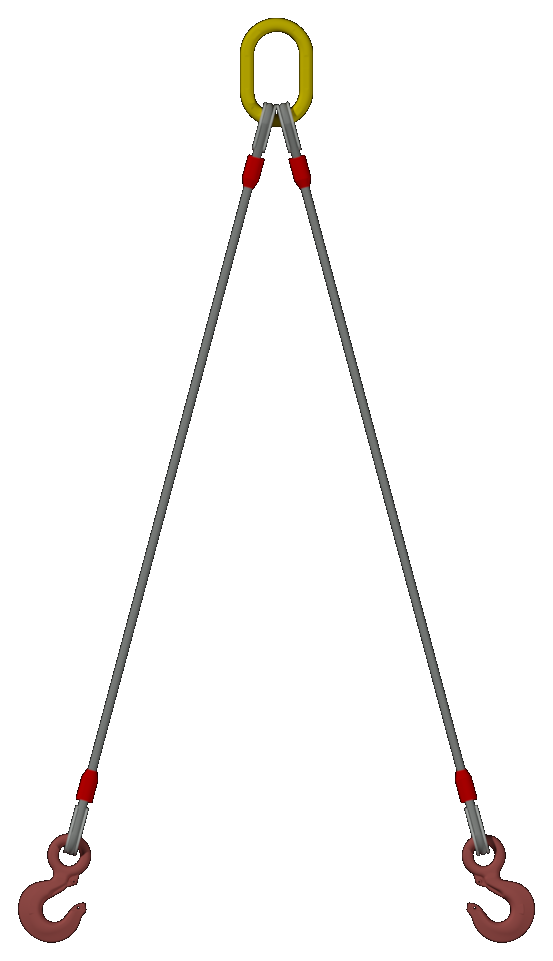 125-HT-HT Wire Sling
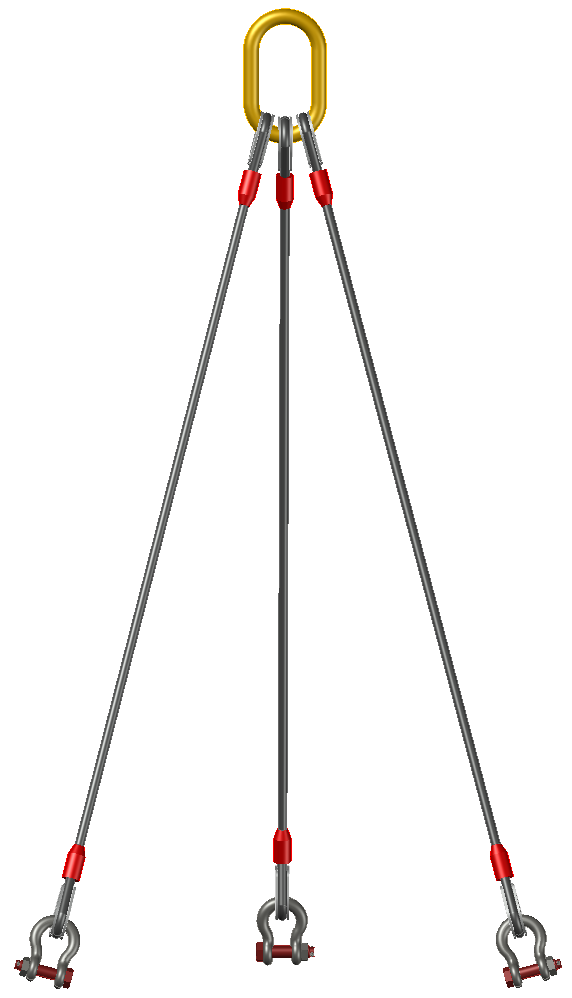 135-HT-HT Wire Sling
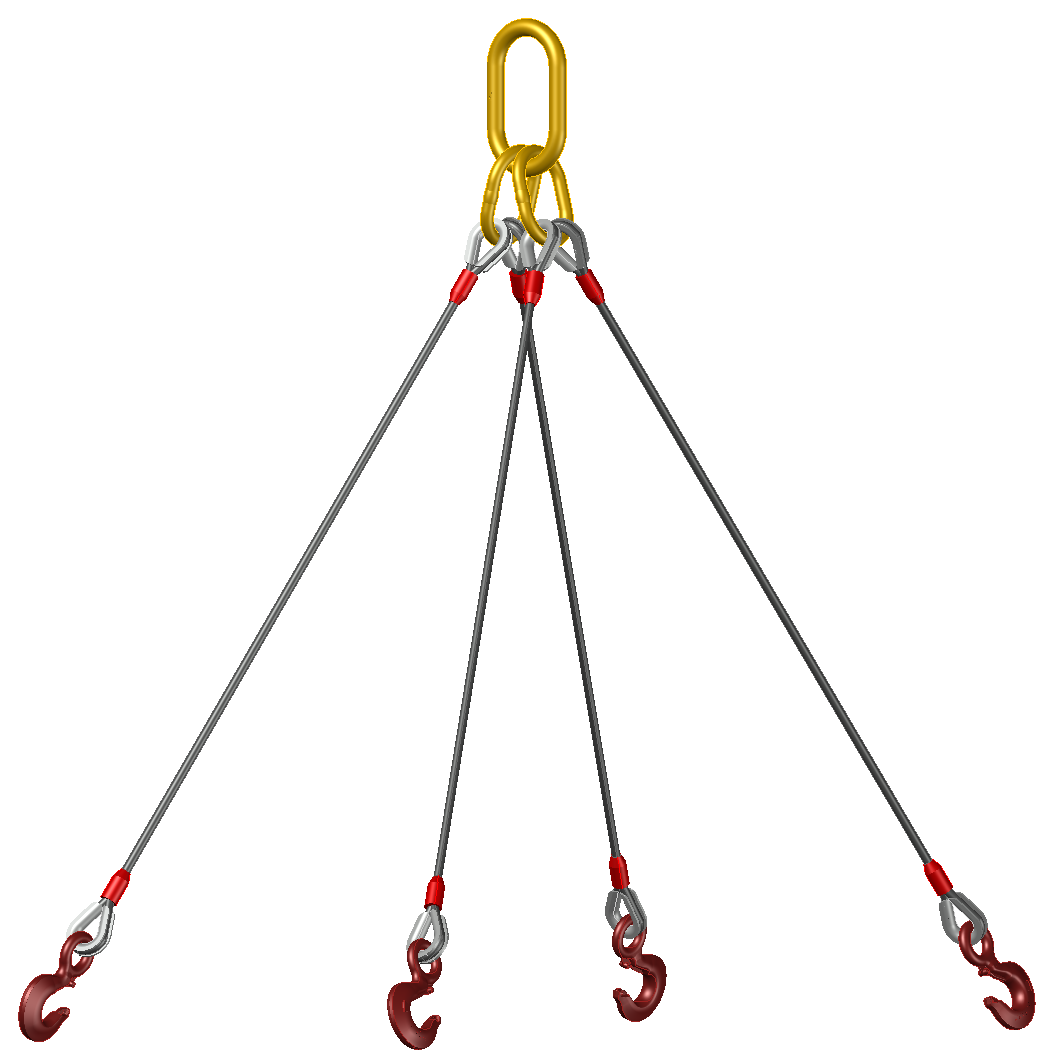 145 Wire Rope Bridle Sling
 215 Mechanical Splice Grommet
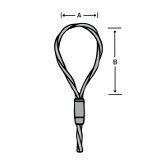 315 Three-Part Braided Wire Rope Sling
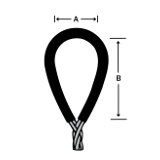 615 Six-Part Braided Wire Rope Sling
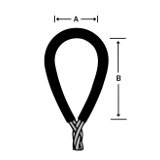 915 Nine-Part Braided Wire Rope Sling
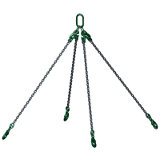 Chain Sling Selection
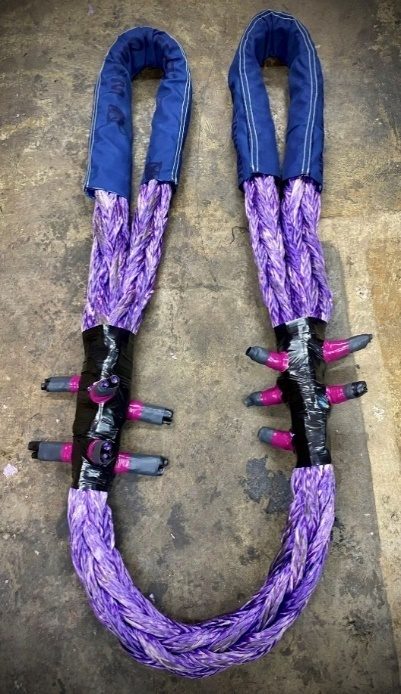 Eye and Eye 115-E-E Synthetic Rope Sling
 Eye And Eye Flat or Twist Nylon Web Slings
 Mammoth Slings
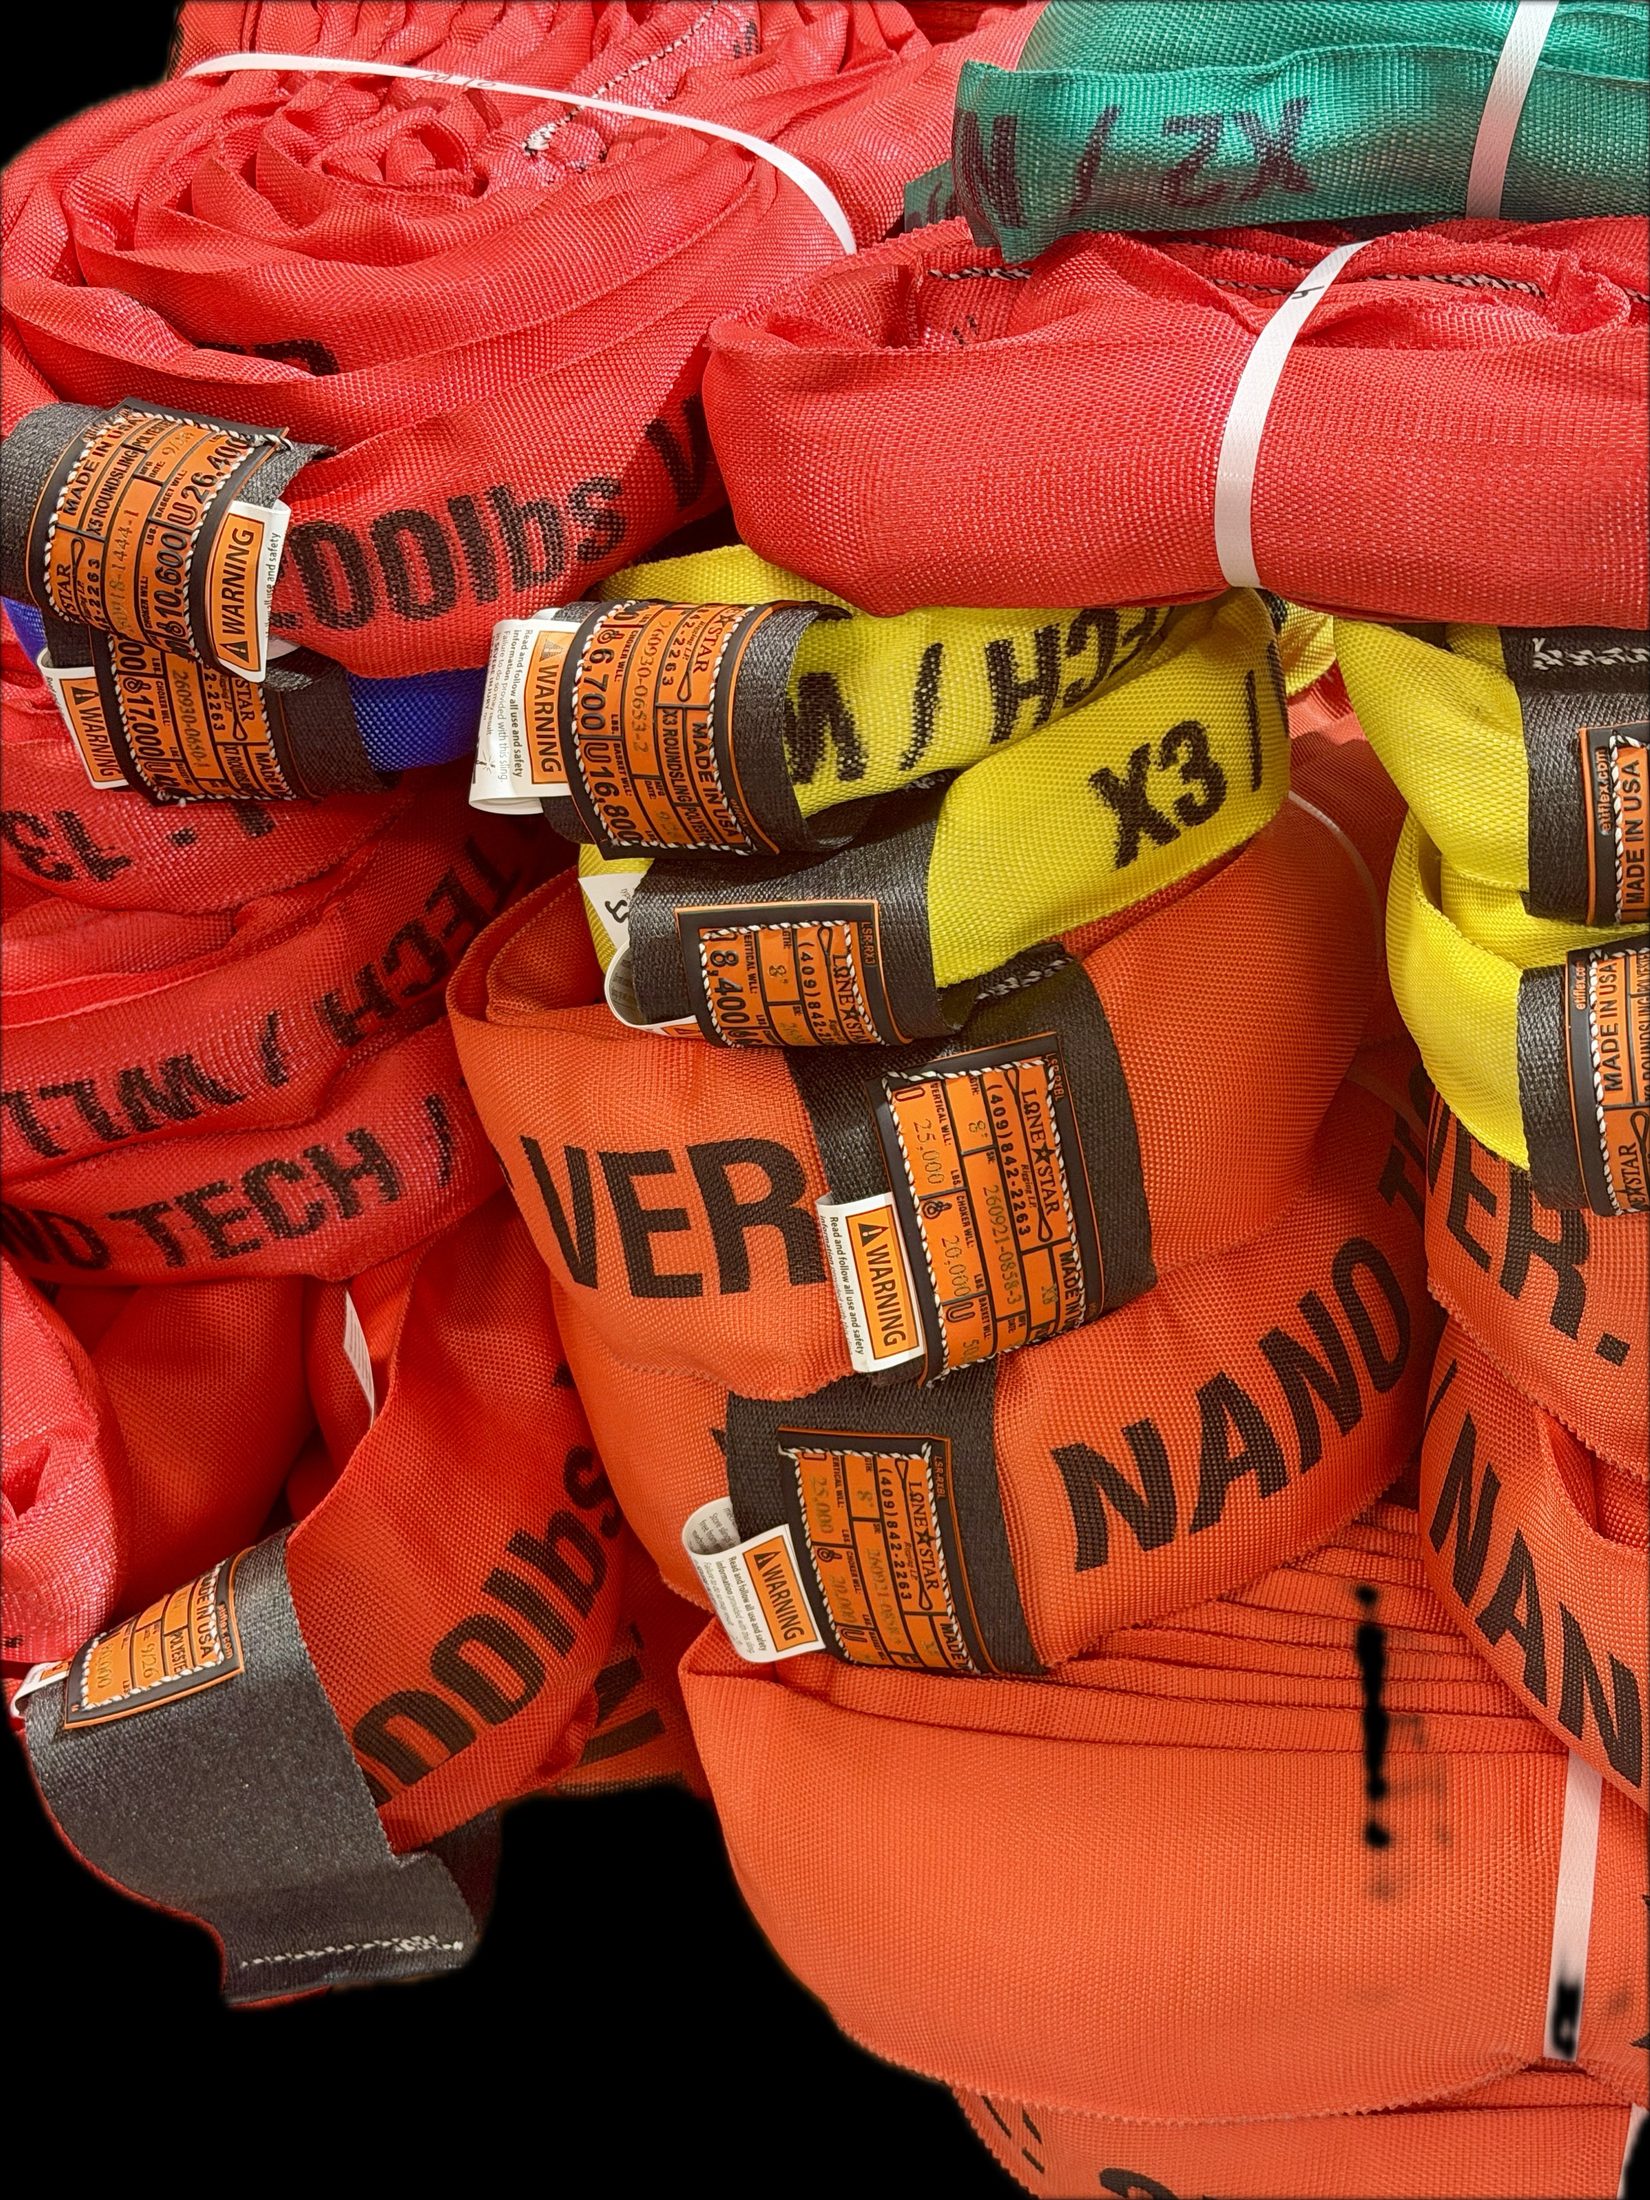 Nanotech Coated Round Slings
The rated capacity of a sling and what it means to you.
The rated capacity of a sling varies depending upon the type of sling, the size of the sling, and the type of hitch. The American Society of Mechanical Engineers (ASME) requires that all wire rope slings be tagged with the name or trademark of the manufacturer, the rated capacity for specific configurations and the diameter or size of the sling. Under no circumstances shall a sling’s rated capacity be exceeded.
The user should maintain this identification so that it is legible during the life of the sling. All persons using the sling should read the tag and understand the information on it.
The rated capacity of a wire rope sling is based upon the Minimum Breaking Force (MBF) of the wire rope used in the sling, and other factors that affect the overall strength of the sling, including:
- Splicing efficiency.
- Design factor (5 is standard).
- Number of parts of rope in the sling.
- Type of hitch (straight pull, choker hitch or basket hitch).
- Diameter around which the body of the sling is bent (D/d ratio).
- Number of legs.
- Diameter of the pin (or hook) over which the eye of the sling is rigged.
- Angle at which the sling is used.
- Hook or other end attachment rated capacity.
Design Factor
The rated capacities for wire rope slings are based on a design factor of 5 per ASME B30.9. The design factor and other factors are used to calculate the rated capacities.
Design factors have been established that allow the sling to give efficient service to the user.
D/d Ratios
When a sling is rigged as a basket, the diameter of the bend where the sling contacts the load can affect the sling’s lifting capacity.
How much the lifting capacity is affected can be calculated by dividing the diameter of the bend where the rope contacts the load (represented by “D”) by the diameter of the rope or the component rope diameter in a multi-part sling (represented by “d”). For example, if the diameter of the bend (“D”) is 10 and the component rope diameter (“d”) is 1/2, the D/d ratio is 10 ÷ 1/2 or 20.
When D/d ratios smaller than those shown in the table below (or those shown in the footnotes below Rated Capacity Tables) are used, the rated capacity of the sling must be decreased.
Standard D/d ratios are applied to determine efficiency of various sling constructions.
| Mechanically spliced, single-part slings | 25 times rope diameter |
| Hand-spliced, single-part slings | 15 times rope diameter |
| Braided multi-part slings of 6 parts | 25 times component rope diameter |
| Braided multi-part slings of 8 parts | 25 times component rope diameter |
| Helically laid multi-part slings | 25 times component rope diameter |
| Hand-tucked grommets and mechanically joined grommets | 5 times sling body diameter |
How wire rope slings are used.
Hitches
How wire rope slings are configured to lift a load is called a hitch. Most lifts use one of three basic hitches.
Vertical Eye and Eye Hitch
If one eye of the sling is attached to the lifting hook and the other eye is attached to the load, this is called a vertical eye and eye, or straight, hitch. A tagline should be used to prevent load rotation that may damage the sling.
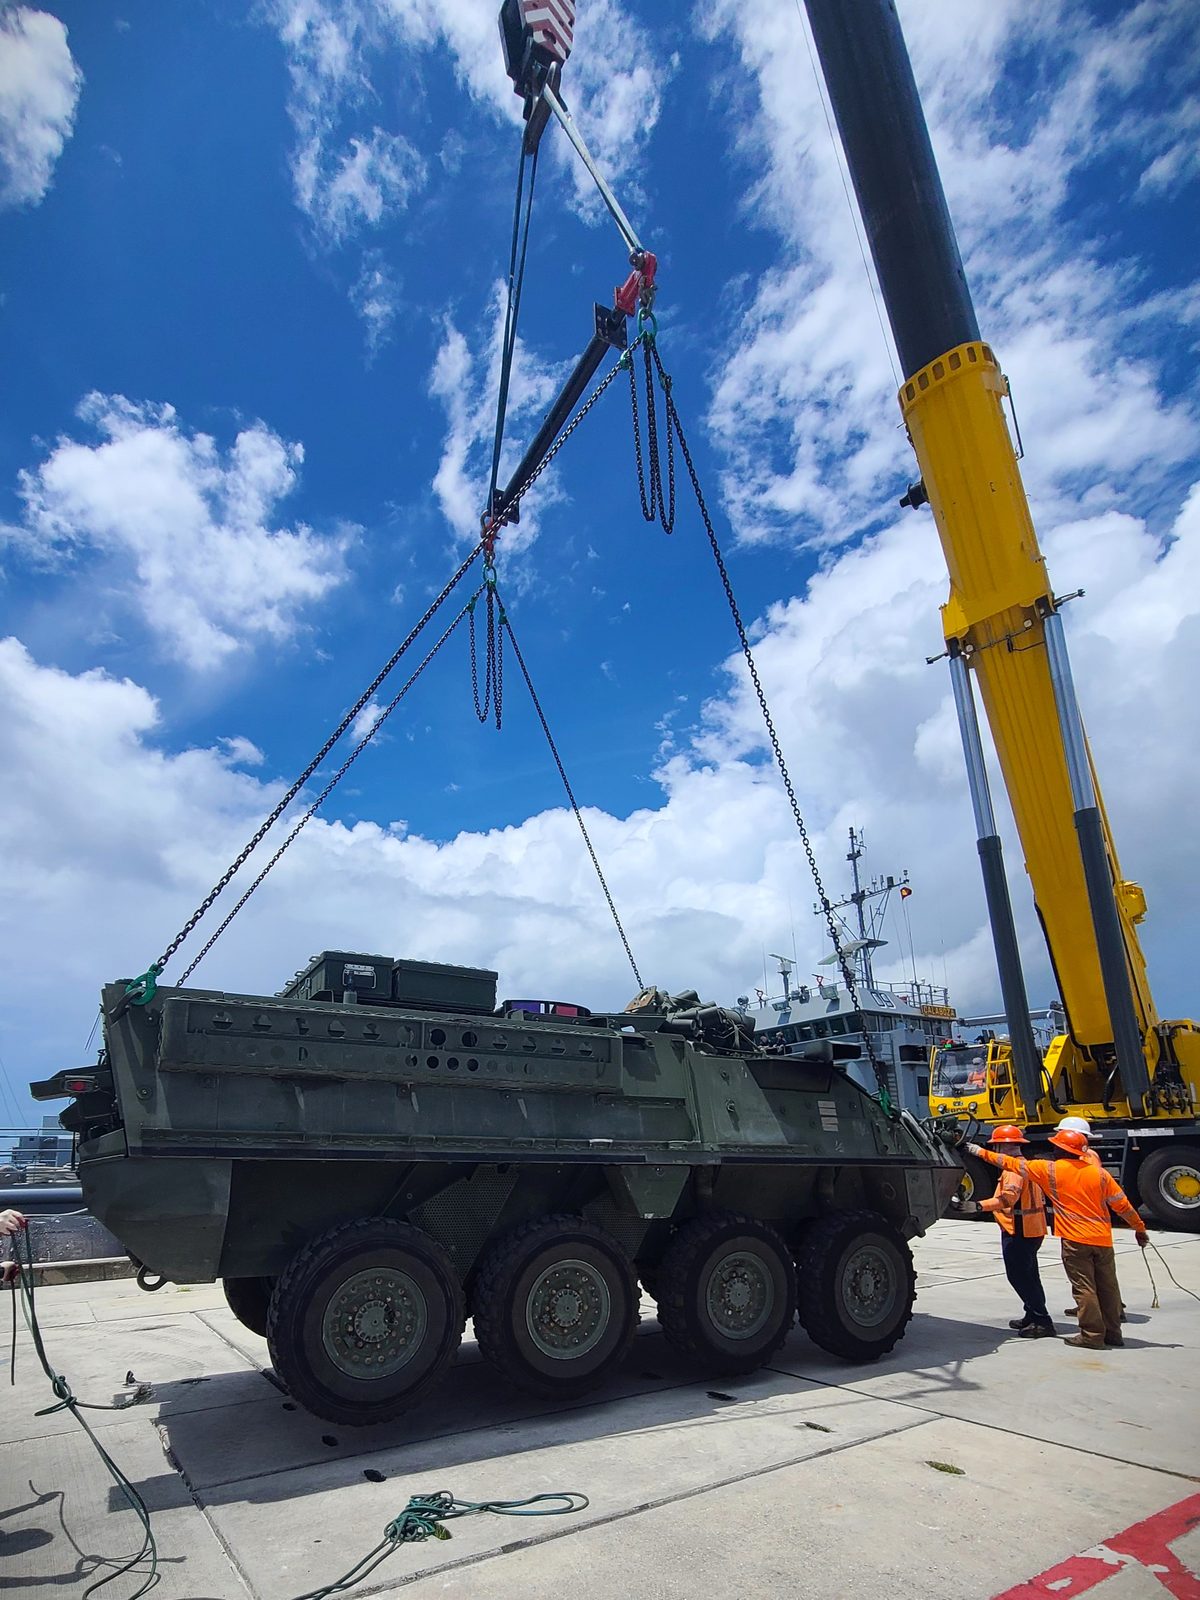
When two or more slings are attached to the same lifting hook, the total hitch becomes, in effect, a lifting bridle and the load is distributed equally among the individual slings.
Slings used at an angle have a lower rated capacity than a sling used vertically.
Basket Hitch
A basket hitch is formed when both eyes of the sling are placed on the lifting hook, thereby forming a circular basket of the sling. This type of hitch distributes the load equally between the two legs of the sling, within limitations.
Choker Hitch
In the choker hitch, one eye of the sling is attached to the lifting hook, while the sling itself is drawn through the other eye. The load is placed inside the “choke” that is created while the sling is drawn tight over the load through the eye.
Choker hitches reduce the lifting capability of a sling since the wire rope component’s ability to adjust during the lift is affected. You should only use a choker hitch when the load will not be seriously damaged by the sling body, or the sling damaged by the load, and when the lift requires the sling to hug the load.
Never choke a load so that any part of one eye or splice is in the part of the sling that passes through the other eye to form the choke.
Two notes of caution: Always pull a choker hitch tight before the lift is made. It should never be pulled down during the lift. Also, never use only one choker hitch to lift a load that could shift.
Lifting Bridles
When you attach two or more slings to the same lifting hook, or are connected to a link rigged onto the hook, the total hitch becomes a lifting bridle, distributing the load among the individual slings. When using two or more slings as a lifting bridle, remember that the sling angle affects the slings’ rated capacities. Also, the location of the lift’s center of gravity will affect the load on each sling leg.
Sound lifting practices.
There are four primary factors to take into consideration when lifting a load.
They are: (1) the physical parameters of the load; (2) the number of legs and the angle they make with the horizontal; (3) the rated capacity of the sling; and (4) the condition of the sling.
Number of legs and angle with the horizontal.
As the angle formed by the sling leg and the horizontal decreases, the rated capacity of the sling also decreases. In other words, the smaller the angle between the sling leg and the horizontal, the greater the load on the sling leg. The minimum angle allowed is 30 degrees.
Rated capacity.
The rated capacity of a sling must never be exceeded. The rated capacity is based both on sling fabrication components (minimum breaking force of rope used, splicing efficiency, number of parts of rope in sling and number of sling legs) and sling application components (angle of legs, type of hitch, D/d ratios, etc.)
If you are using one wire rope sling in a vertical hitch, you can utilize the full rated lifting capacity of the sling, but you must not exceed that lifting capacity.
If you are using two wire rope slings in a vertical hitch (called a 2-legged bridle hitch) in a straight lift, the load on each leg increases as the angle between the leg and the horizontal plane decreases. Whenever you lift a load with the legs of a sling at an angle, you can calculate the actual load per leg by using the following three-step formula.
Three-step formula for calculating load per sling leg.
These calculations assume that the center of gravity is equal distance from all of the lifting points, and the sling angles are the same. If not, more complicated engineering calculations are needed.
- Divide the weight of your total load by the number of legs you are using. This gives you the load per leg if the lift were being made with all legs lifting vertically.
- Measure the angle between the legs of the sling and the horizontal plane.
- Multiply the load per leg that you calculated in step 1 by the load factor for the leg angle you are using. Use the Load factor guidelines table to determine the load factor.
The result is the actual load on each leg of the sling for this lift and angle. The actual load must never exceed the sling’s vertical rated capacity.
Examples:
- Total load is 1,000 lbs. divided by two legs – 500 lbs. load per leg if vertical lift.
Horizontal sling angle is 60 degrees.
Multiply 500 lbs. by 1.154 load factor (from table) = 577 lbs. actual load per leg. - Total load is 1,000 lbs. divided by two legs – 500 lbs. load per leg if vertical lift.
Horizontal sling angle is 45 degrees.
Multiply 500 lbs. by 1.414 load factor (from table) = 707 lbs. actual load per leg. - Total load is 1,000 lbs. divided by two legs – 500 lbs. load per leg if vertical lift.
Horizontal sling angle is 30 degrees.
Multiply 500 lbs. by 2 load factor (from table) = 1,000 lbs. actual load per leg.
WARNING: Slings shall not be used with horizontal angles less than 30°.
Condition of sling.
Each sling must be inspected daily. If the sling does not pass inspection, do not use.
Calculating the load of basket hitches and bridles.
When you’re calculating the load of basket hitches and bridles, remember that as the horizontal angle of a sling decreases, the resultant load on each leg increases.
The horizontal angle of bridles with three or more legs is measured the same way as horizontal sling angles of two-legged hitches. If a bridle is designed with different leg lengths, it may result in different horizontal angles.
The load on each leg must be calculated based on the position of the slings and the location of the lift’s center of gravity.
Load factor guidelines.
| Leg angle | Load factor |
|---|---|
| 90° | 1.000 |
| 85° | 1.003 |
| 80° | 1.015 |
| 75° | 1.035 |
| 70° | 1.064 |
| 65° | 1.103 |
| 60° | 1.154 |
| 55° | 1.220 |
| 50° | 1.305 |
| 45° | 1.414 |
| 40° | 1.555 |
| 35° | 1.743 |
| 30° | 2.000 |
Adjusting the rated capacity of a choker hitch.
Due to the body of the sling being used in the choke, there is a reduction in rated capacity. This is reflected in the choker rated capacity tables.
Another reduction that must be considered is due to the “angle” of the choke (not the angle of the leg of the sling).
If the load is hanging free, the normal choke angle is approximately 135 degrees. When lifting and turning a load using a choker hitch, it is not uncommon to have a severe bend at the choke. When a choker hitch is used at an angle of less than 120 degrees, you must reduce the hitch’s rated capacity as shown in the chart. You always must adjust the rated capacity of the wire rope sling whenever you use a choker hitch to shift, turn or control a load, or when the pull is against the choke in a multi-leg lift.
| Angle of choke in degrees | Rated Capacity Percent* |
|---|---|
| Over 120 | 100% |
| 90 – 120 | 87% |
| 60 – 89 | 74% |
| 30 – 59 | 62% |
| 0 – 29 | 49% |
* Percent of sling’s rated capacity in a choker hitch
As always, if more than one sling is used and the legs are not vertical, a further reduction in rated capacity must be made for the sling angle.
Warning: Choker hitches at angles greater than 135 degrees are not recommended since they are unstable. Extreme care should be taken to determine the angle of choke as accurately as possible.
Rigger’s 10-step checklist and inspection/removal criteria
1. Weigh and measure
Before you lift, be sure you know exactly how much weight you’re moving, how far you have to move it and how high you must lift it. Make sure the load’s weight is within the rated capacity of the sling, including consideration of sling leg angles and load’s physical parameters.
2. Use the right hitch
Decide how to connect your load to the lifting hook and how to attach the sling to the load.
3. Choose the right sling
Each load is different. Be sure to calculate the proper rated capacity for the angles and hitch involved as well as the right type and style for the job. If D/d ratios are smaller than those indicated, the sling’s rated capacity must be reduced. Choose a sling with the proper end attachments or eye protection as well as attaching hardware. Pad all corners in contact with the sling to minimize damage to the sling.
4. Inspect the sling
Check the sling closely to be sure it is in good condition and able to make the lift. Follow all the appropriate OSHA guidelines and ASME regulations. You cannot change the length of a sling. If a different length is needed, get a sling of the required length.
5. Rig up, not down
Always attach the sling to the load first, then attach it to the hook.
6. Balance the load
Always place the eye or link in the base (bowl) of the hook to prevent point loading on the hook. In a basket hitch, always balance the load to prevent slippage. The sling’s legs should contain or support the load from the sides above the center of gravity when using a basket hitch. Be certain that the slings are long enough so that the rated capacity is adequate when you consider the angle of the legs.
7. Test the rigging
Before you make the lift, tug lightly on the rigging to be certain that blocking, sling and load protection are in place, then lift slightly off the ground and re-check the lift.
8. Stand clear and lift
To prevent injury, move away from the areas between the sling and load and between the sling and the crane hook or hoist hook. Let the lifting device and rigging work for you. Avoid the temptation to use your muscles to prevent swinging or movement. Use a tag line or tether. Be sure to keep clear of the suspended load.
9. Avoid shock loading
Lift slowly with a steady application of power. Don’t make sudden starts or stops, either in lifting or swinging the load.
10. Return to storage
After you’re done with your lift, inspect the sling for possible damage. If damaged and not usable, destroy the sling immediately. Otherwise, return it to your sling storage rack until your next lift.
Before using slings, inspect them to be sure they meet the requirements for that application
How often to inspect
Both ASME Standard B30.9 and OSHA require that wire ropes receive two types of inspections:
1. A daily visual inspection. The person handling the sling must do this each day. The person inspecting the sling should check for major damage or deterioration that would weaken the sling and for obvious signs such as broken wires, kinks, crushing, broken attachments and severe corrosion.
2. Additional inspections at regular intervals. These are based on frequency of sling use, severity of service conditions, the nature of the lifts and prior experience based on service life of slings used in similar circumstances. A designated person who has a working knowledge of wire rope must conduct these inspections. Inspection shall be made at least annually and shall include a record of the inspection or of apparent conditions to provide the basis for a continuing evaluation. Inspection shall be conducted on the entire length of the sling, including splices, end attachments and fittings.
How to inspect
The following procedures are offered as a guide for conducting inspections:
- Place the sling in a position that enables the inspector to access and see every part of the sling.
- Clean off all dirt and grease with a wire brush or rags to reveal wires and fittings.
- Examine the entire length of the sling thoroughly, especially the parts showing the most wear.
- Pay special attention to fittings and end attachments and areas of the sling next to these fittings.
- Find the most worn or damaged section of the sling and carefully check it against removal criteria.
- Label or identify all slings you’ve inspected.
- Keep records of all inspections, including dates and conditions of slings.
- Immediately destroy all slings you’ve rejected.
- Store slings you want to reuse in a safe place away from damaging weather, heat and dirt.
When to replace your wire rope sling
According to ASME B30.9, you must remove a wire rope sling from service immediately if any of the following conditions are present:
- Rated Capacity Tag. Missing or illegible sling identification tag.
- Broken Wires. For single part body slings and strand laid grommets: 5 broken wires in one strand in one rope lay or 10 broken wires in all strands in one rope lay. For cable-laid, cable-laid grommets and multi-part slings, use the following guidelines:
- Metal loss. Wear or scraping of one-third the original diameter of the outside individual wires.
- Distortion such as kinking, crushing or bird caging. Look closely for wires or strands that may have been pushed out of their original positions in the rope.
- Heat damage. Any metallic discoloration or loss of internal lubricant caused by heat exposure.
- Damaged end attachments. Cracked, bent or broken fittings. Also, any evidence that eye splices have slipped, or tucked strands have moved.
- Bent Hooks. No more than 15 percent over the normal throat openings (measured at the narrowest point) or twisting exceeding 10 degrees is permitted.
- Metal corrosion. Severe corrosion of the rope or end attachments that has caused pitting or binding of wires. Light rusting doesn’t normally affect a sling’s strength.
How to dispose of a rejected wire rope sling.
Once the inspector has determined a sling is no longer usable, he should tag it immediately, “Do Not Use”. The sling should then be destroyed as soon as possible by cutting the eye and fittings from the rope. This will prevent accidental reuse of the sling.